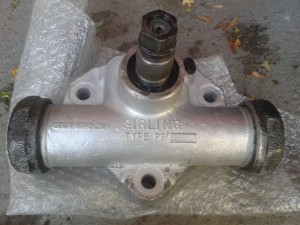
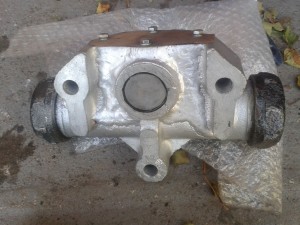
Collected repaired shock absorber from Les at Steve Price’s today. Fantastic job. Les welded up the casing, fitted new bushes and seals and repaired the broken internal operating lever. He also explained how to dismantle the rest of them, should they need doing: pop out the rear core plug, remove the seal and press the shaft out from behind. I have the old bushes so I can measure them for OD and nominal ID. However there is no play and plenty of resistance in the other rear shocker so will leave that alone for the time being.
Monthly Archives: September 2018
20/9/2018
Mostly painting road wheel hubs and drive hubs today. Applied the blue enamel to the AEC badges for the drive hubs.
Whilst waiting for paint to dry, carried on attempting to remove the waist rail lower beading – some progress. The upper rail beading seems to be willing to just pull off, probably as a result of the rot in the window pans allowing water down into the woodwork. No doubt more horrors to be found once that and the panels are all removed.
19/9/2018
First coat of black on drive hubs. Red oxide applied to nearside rear hub. Vactan applied to offside rear hub after wirebrushing and degreasing.
Cleaned and stripped remaining enamel from AEC hub badges. Primed and sprayed silver (rims left in chrome) ready for blue and red infill.
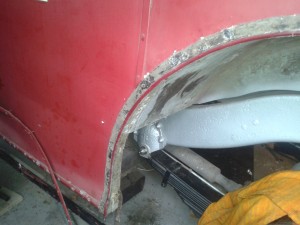
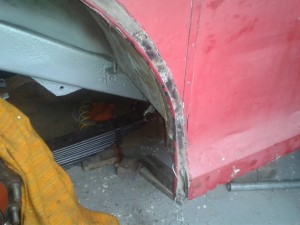
Started to remove panelling above offside rear wheel aperture, most screws just pull out as the frame is totally rotten. Bulges in the body work discovered to be caused by heavily corroded steel flitch plates at frame joints. This sequence of photos shows how the rubber infill is fitted above the mudguard and how the curve at the bottom of the bodywork is achieved.
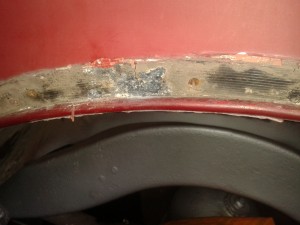 The flat edge of the rubber is against the panel (half round beading fitted over) and the lip abuts the mudguard.
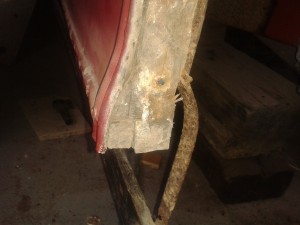 shaped blocks are used at the bottom of the verticals.

