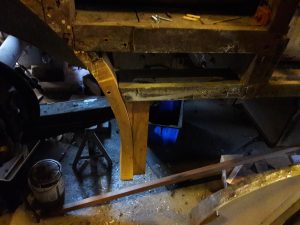
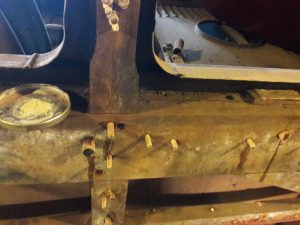
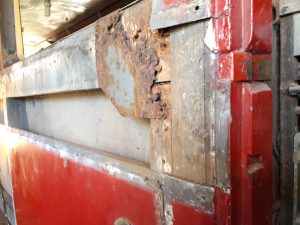
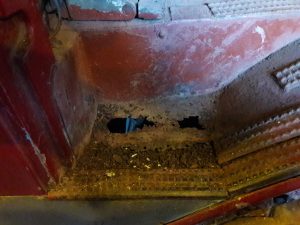
The last two weeks have seen the completion of repairs to the O/S frame, the last of the rusty screws and nails removed and the holes dowelled. The last of the new flitch plated have been fitted. The repairs to the cantrail have been sanded level and the rest of the frame sanded and prepared for painting. The unpainted woodwork has been primed and the a start made on painting the whole of the exposed frame with grey top coat.
As it is the first day of the year, a summary of work completed in the last twelve months is appropriate.
The nearside of the bus from the entrance rearwards has been structurally completed, all windows panels are in place and beaded. The rear corner panel has been cosmetically filled and finished in undercoat. A new mudwing and liner was fabricated and installed and the wheelbox cover stripped, painted and refitted with new mountings.
The roof has been completely stripped of all paint and repaired where necessary to make it watertight.
The roof over the entrance and nearside front wheel has been repaired and is ready for cosmetic finishing, including a new valance over the entrance steps.
A new rear number plate box was fabricated and installed, along with new bulb holders and wiring for the stop and tail lights. The boot doors have been refitted and primed.
The destination box glass has been removed and a replacement obtained. Some repairs have been made to the wooden frame that supports the glass.
The entrance step light was repaired and repainted ready for fitting.
The boot was finished internally with new lino.
Work has now commenced on the offside with all windows removed, frame repairs completed above the floor and the frame partially painted.


