
On Monday I finished fixing and dressing the aluminium panels to the emergency door frame, then abraded them and primed them. Next I started stripping the vertical weather strip that fits around the hinges. This was pretty rusty on the back but a wire brush wheel in the big angle grinder made short work of it. I then primed the front face and gave a second coat to the cab door weather deflector. Whilst waiting for these to dry, I removed the cab door inner panel and, after inspection, decided to cut a new one, pre-drilling all the holes by using the old panel as a template, screwed to the new one as I progressed with the drilling. Hopefully everything will line up square! Before starting work on Tuesday, I collected the template for the emergency door glass from Paxton’s and took it to Dunmow glass who quoted me £70 less for it! Gave the weather deflector strips another coat of primer, then an undercoat in colour. A coat of top coat on the inside face and these can be fitted. Whilst waiting for them to dry I dismantled the slam lock for the cab door. This was choked with rust and the springs had rusted solid, so I cleaned it out and replaced the springs with a single new one from stock. A small shim for the handle cam fixed a bit of roughness in operation, then it was thoroughly greased with copper grease and reassembled and painted. Whilst waiting for the paint to dry on the slam lock, I investigated why the cab door was sticking and cured it by sanding off the bottom of the frame and reshaping the lower rubber guide. It now fits as well as it is going to! Last job was to glaze the metal frame for the very last offside window (apart from the emergency door for which I am awaiting the glass). This fitted fairly easily, thankfully, unlike the first piece which was slightly too large.
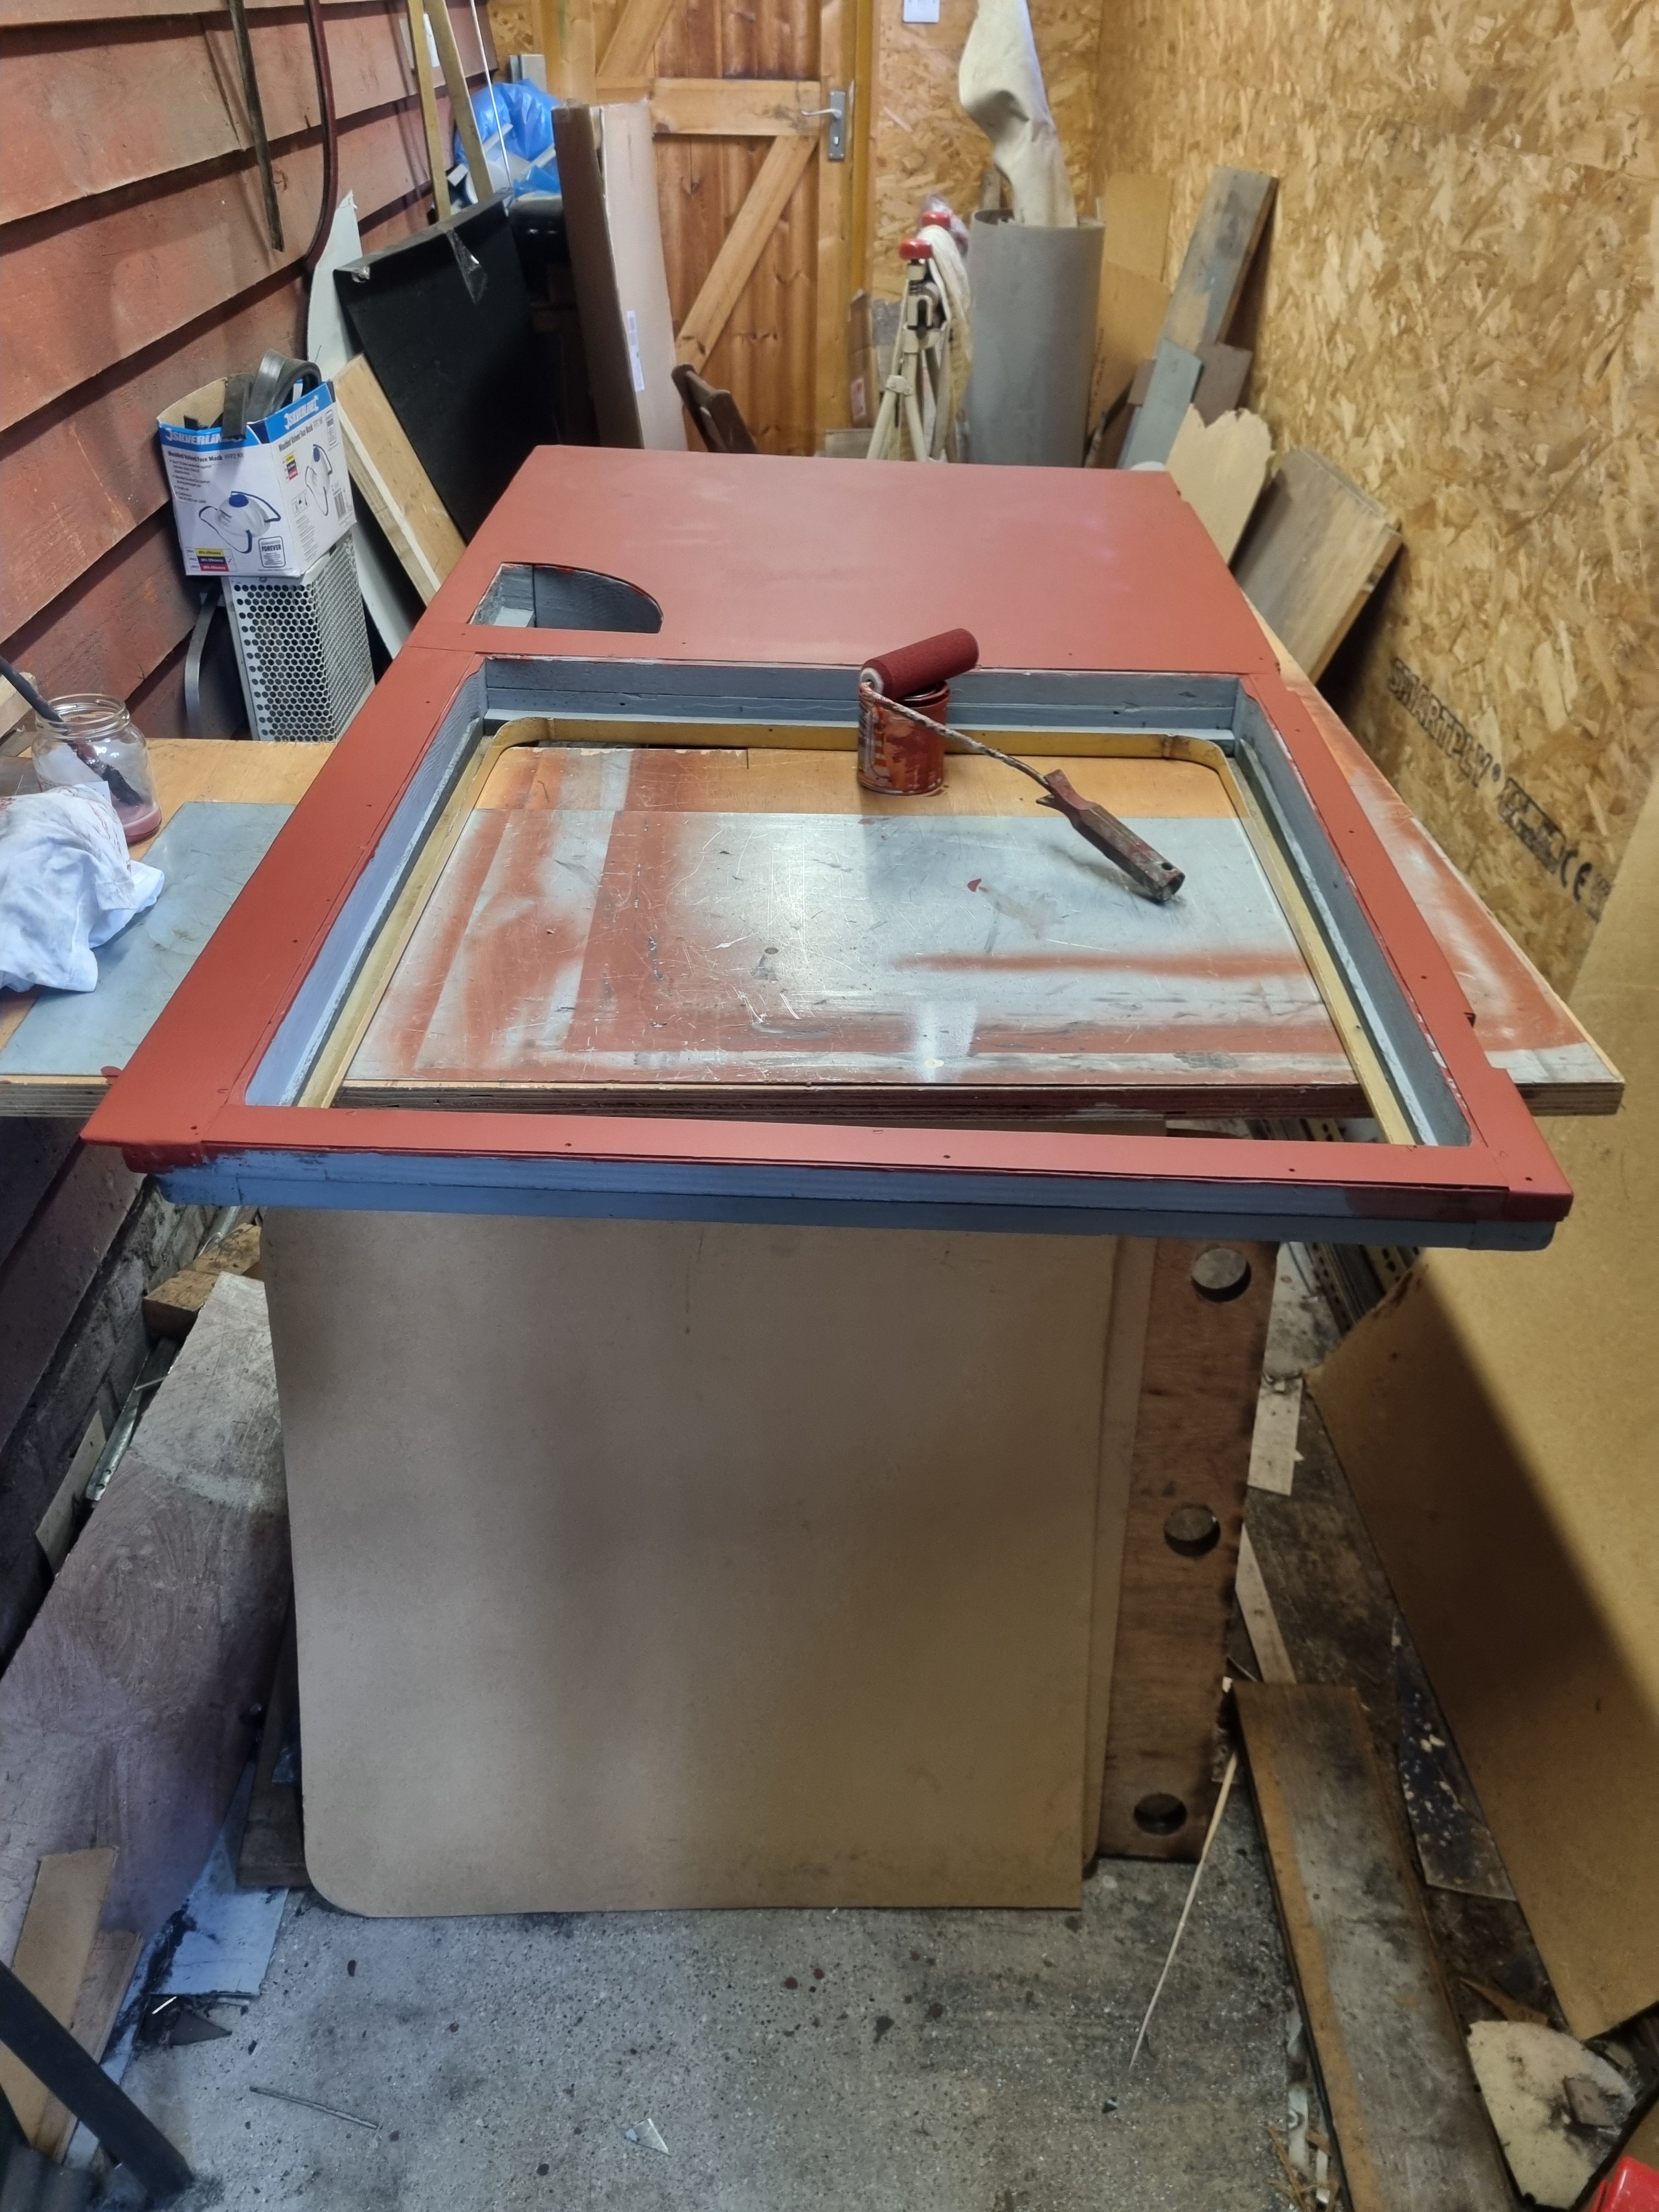
Emergency door paneled and ready for fitting
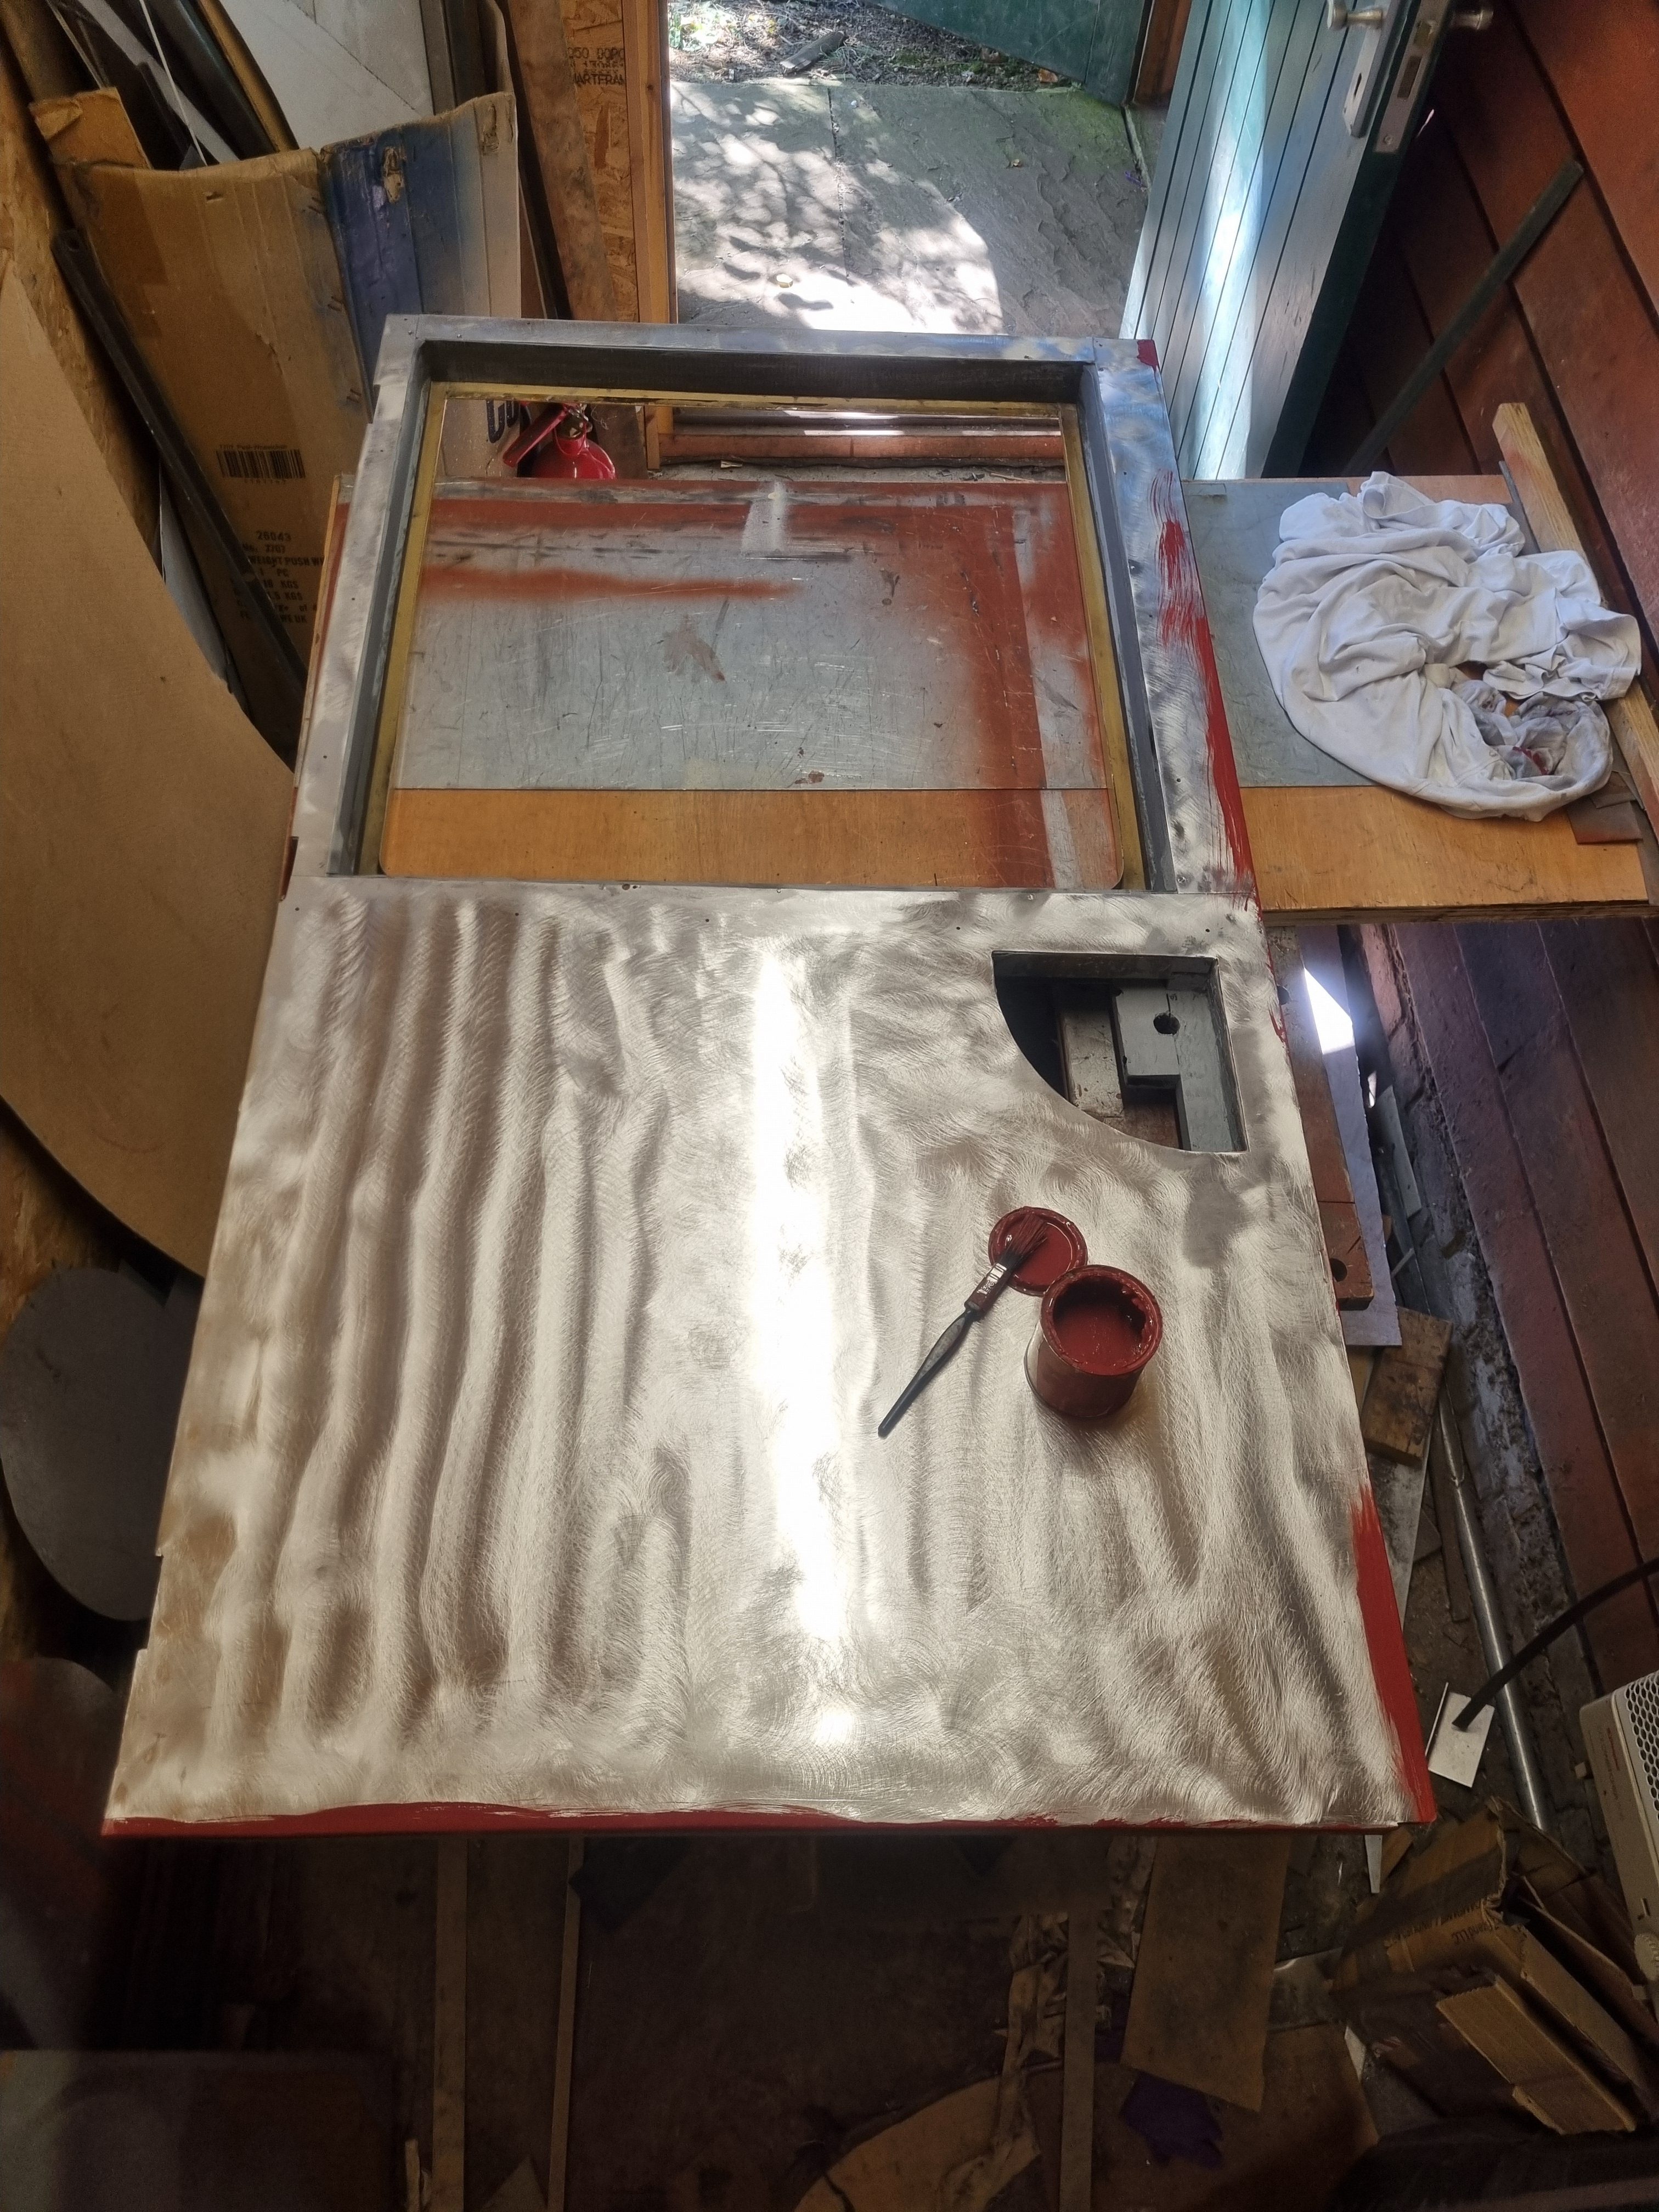
Emergency door paneled and being prepped for priming.