Tag Archives: wiring

30/12/2023

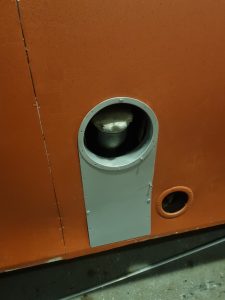
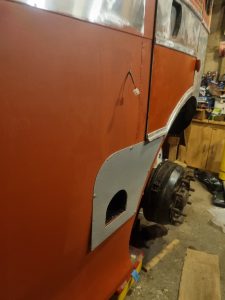
This week I only had a few days work as Christmas intervened, but I was able to prepare for prime all the lower panels on both sides of the bus.  This included abrading the clean metal and then priming the O/S, this had to be done to allow fettling and fitting of the splash panel and protector around the the tank filler.  Some filling and sanding was necessary on the N/S, the first panels fitted in November 2020.  The nearside panels have now been primed, revealing more filling is required to the lower part of the first two panels from the entrance rearward.  As P38 is very sluggish in cold weather some alternative filler has been ordered which will hopefully arrive soon.  As a prelude to building the remaining window pans, I started fettleing the frame uprights in preparation for the chrome vinyl covering.

As this is the last entry of the year, a summary of work completed in the last twelve months is appropriate.

This year’s work did not start until February, due to my spell of ill health.

New metalwork for the cab was fabricated and fitted and the cab painted throughout, allowing the floor and some fittings to be reinstalled.

“Low Racks” signs were designed and made for the seat backs.

A correct cooling fan was obtained by Ian and fitted by me.

The destination box was painted throughout and is ready for electrics and blinds to be installed.

New fuel pipes were made up and connected to the tank and the existing piping that runs behind the engine.

A new speedometer cable outer was manufactured and the cable connected to the speedo.

All the chassis wiring has been renewed and a multicore cable laid in conduit along the chassis to the boot.  A new cover was fabricated in aluminium for the wiring where it enters the control bux under the cab floor.

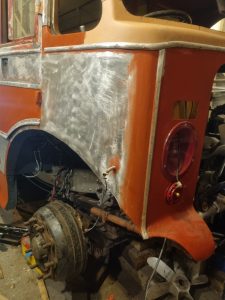
The O/S rear wheelarch  was fabricated, fitted and prepared for paint.

The O/S rear corner panel was filled, sanded and painted and all the O/S panels fitted and primed.

26/11/2023

I completed the replacement hinge assembly by adding a 3/16″ shim between the hinge and the base to position it correctly so that the control box will sit square on its base.  After that, work has contentrated on wiring the lighting and 24v supply to the multicore cable terminal mounted on the cab rear bulkhead below the floor.  Connections that need to be made in the cab-mounted control box havebeen sheathyed and routed into their correct positions ready for reinstallation of the control box.    The control box itself has had attention: all the terminals and nuts have been cleaned, the 2BA terminals having new brass nuts.  The main battery switch has had its shaft painted black.

All the wiring has now been tested, including the brake light switch,  horn and button, and the panel light switch both at the cab end and in the boot where appropriate so I am happy now that its all correct.  Also tested now are the starter motor cables, dynamo cables and the starter sloenoid cable.

13/08/2023

In order to fit new gaiters to the wheel-mounted brake servos, I found I had to remove them completely.  Started on the driver’s side and found the servo was actually loose!  Just as well as the two rear nuts are very difficult to reach.  Took the end cap off, which involved some brtality to two of the screws, and freed up the piston.  I then cleaned, wirebrushed and alumablasted it ready for reassembly when replacement screws arrive.  I found time to tap 2BA the holes in one of the metal floor sections for the clamp plate bezels for the rubber seal for the handbrake lever.   Made a repair section for the rotted steel below the cab window , welded it to the existing metal, primed it then fitted the new front offside corner panel.  I reused the vertical beading to ensure all the holes lined up!  The last of the front end wiring is in, this being to the sidelight mounted on the new front quarter panel.  I fitted the horizontal half-round beading around the cab front.   I also stripped and started to paint the steel rain/draught excluder for the cab door.  I also realised I need to do the same for the emergency door, which meant I had to make some minor alteration to the beading on the new panels.  The various screws for the cab floor steel sections arrived on Saturday so next week should see some progress on that.   The screws for the brake servo end cab also arrived, so that can be reassembled now too.